
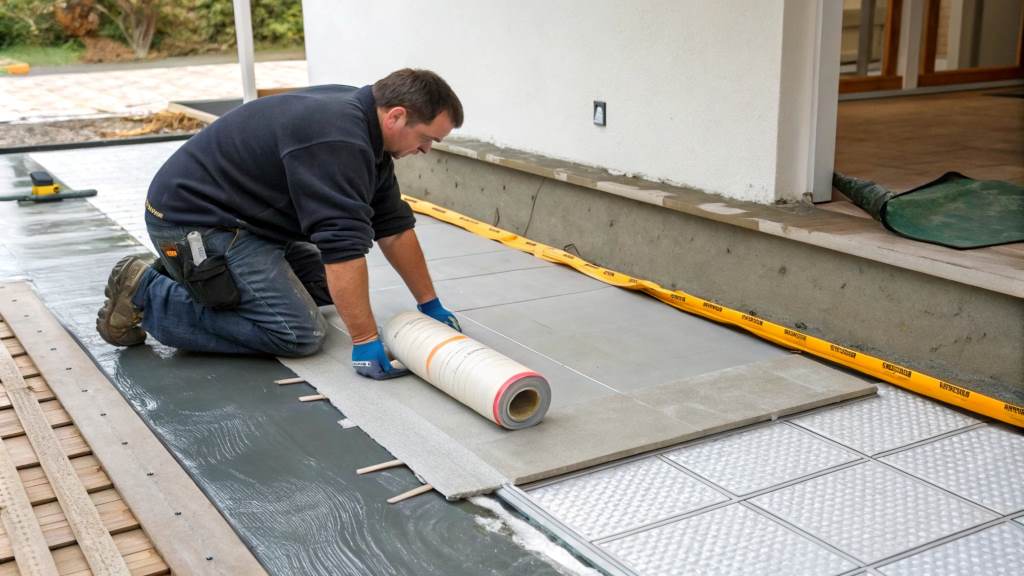
Installing an uncoupling membrane for tile on concrete is an essential step to create a stable and durable foundation for your tiles. Whether you’re a DIY enthusiast or a professional contractor, this process significantly reduces the risks of tile cracking and ensures longevity for your flooring project. In this guide, we’ll explore everything from the importance of an uncoupling membrane to the step-by-step process of installing it on concrete.
Why Use an Uncoupling Membrane for Tile on Concrete?
Concrete may seem like the perfect surface for tiles, but it comes with challenges. Concrete tends to expand, shrink, and crack due to changes in temperature and moisture. Without an uncoupling membrane, these movements can transfer to the tiles, causing them to crack or break.
An uncoupling membrane acts as a buffer between the concrete and tiles, allowing for independent movement. Here are the primary benefits:
- Prevents Cracking: Absorbs stress caused by movement or minor cracks in the concrete.
- Moisture Control: Helps manage moisture levels and prevents water from seeping through the tiles.
- Easy Installation: Simplifies tile installation, especially on uneven or imperfect concrete surfaces.
What You’ll Need for Installation
Before diving into the installation, gather the following tools and materials:
- Uncoupling Membrane (e.g., Schluter-DITRA, Custom Building Products)
- Modified or unmodified thin-set mortar (as per membrane manufacturer’s guidelines)
- Notched trowel (preferably a 1/4″ x 3/16″ V-notch trowel)
- Utility knife
- Measuring tape
- Sponge and bucket of water
- Tile spacers and leveling tools
Preparation: The Key to Success
1. Inspect and Clean the Concrete Surface
The concrete must be clean, dry, and free of debris. Use a vacuum or broom to remove dust, and clean oil or grease stains with a degreaser. For cracks, repair them using a patching compound and let them cure before proceeding.
2. Check the Flatness of the Surface
Uneven concrete can lead to tile lippage. Use a straightedge to check for dips or humps. Minor imperfections can be smoothed with a self-leveling compound.
3. Moisture Test
Concrete tends to retain moisture. Use a moisture meter to ensure levels are within the manufacturer’s recommendations for installing the membrane.
Step-by-Step Guide to Install Uncoupling Membrane for Tile on Concrete
1. Mix the Thin-Set Mortar
Follow the manufacturer’s guidelines to mix thin-set mortar. It should have a smooth, peanut-butter-like consistency.
2. Apply the Thin-Set to the Concrete
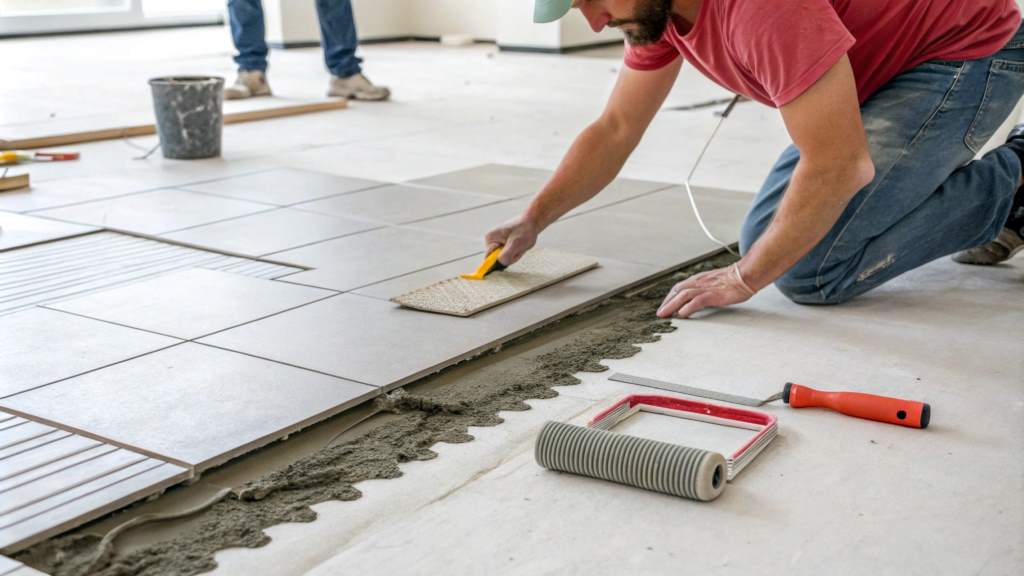
Using a notched trowel, spread a thin layer of mortar onto the concrete. Work in small sections to prevent the mortar from drying out before applying the membrane.
Pro Tip: Hold the trowel at a 45-degree angle to create consistent grooves, ensuring optimal adhesion.
3. Lay the Uncoupling Membrane
Roll out the uncoupling membrane onto the mortar, ensuring the fleece side faces the concrete. Press it firmly into place using a grout float or roller.
- Overlap seams according to the manufacturer’s instructions if you’re using multiple sheets.
- Cut excess material using a utility knife for a precise fit.
4. Smooth the Membrane
Using the flat side of the trowel, smooth out air bubbles or creases. This step is crucial for ensuring a strong bond between the membrane and the mortar.
5. Let It Cure
Allow the thin-set to cure as per the manufacturer’s recommendations. This typically takes 24 hours but may vary based on the mortar type and environmental conditions.
Tiling Over the Uncoupling Membrane
Once the membrane is securely in place, tiling becomes straightforward:
- Spread thin-set mortar over the membrane using a notched trowel.
- Press the tiles into place, using spacers for even grout lines.
- Check the level of each tile and adjust as needed.
Pro Tip: Use a tile leveling system for large-format tiles to avoid uneven surfaces.
Common Mistakes to Avoid
1. Skipping Surface Preparation
Failing to clean or level the concrete can compromise the entire installation. Take the time to prepare thoroughly.
2. Incorrect Mortar Type
Using the wrong mortar (modified vs. unmodified) can weaken adhesion. Always follow the membrane manufacturer’s guidelines.
3. Inadequate Mortar Coverage
Ensure full mortar coverage under the membrane to avoid air pockets or weak spots.
How Much Does It Cost to Install an Uncoupling Membrane?
The cost depends on the membrane brand, tile area, and labor charges. On average:
- Materials: $1.50–$2.50 per square foot
- Labor (if hired): $4–$8 per square foot
For a DIY project, the overall cost is significantly lower, as you only need to invest in materials and tools.
Conclusion
Installing an uncoupling membrane for tile on concrete is a worthwhile investment to ensure the durability and resilience of your tiled surfaces. With proper preparation, the right materials, and attention to detail, you can create a professional-grade installation that withstands the test of time. Whether you’re tackling the project yourself or hiring a contractor, this guide provides the foundation for success.


Leave a Reply